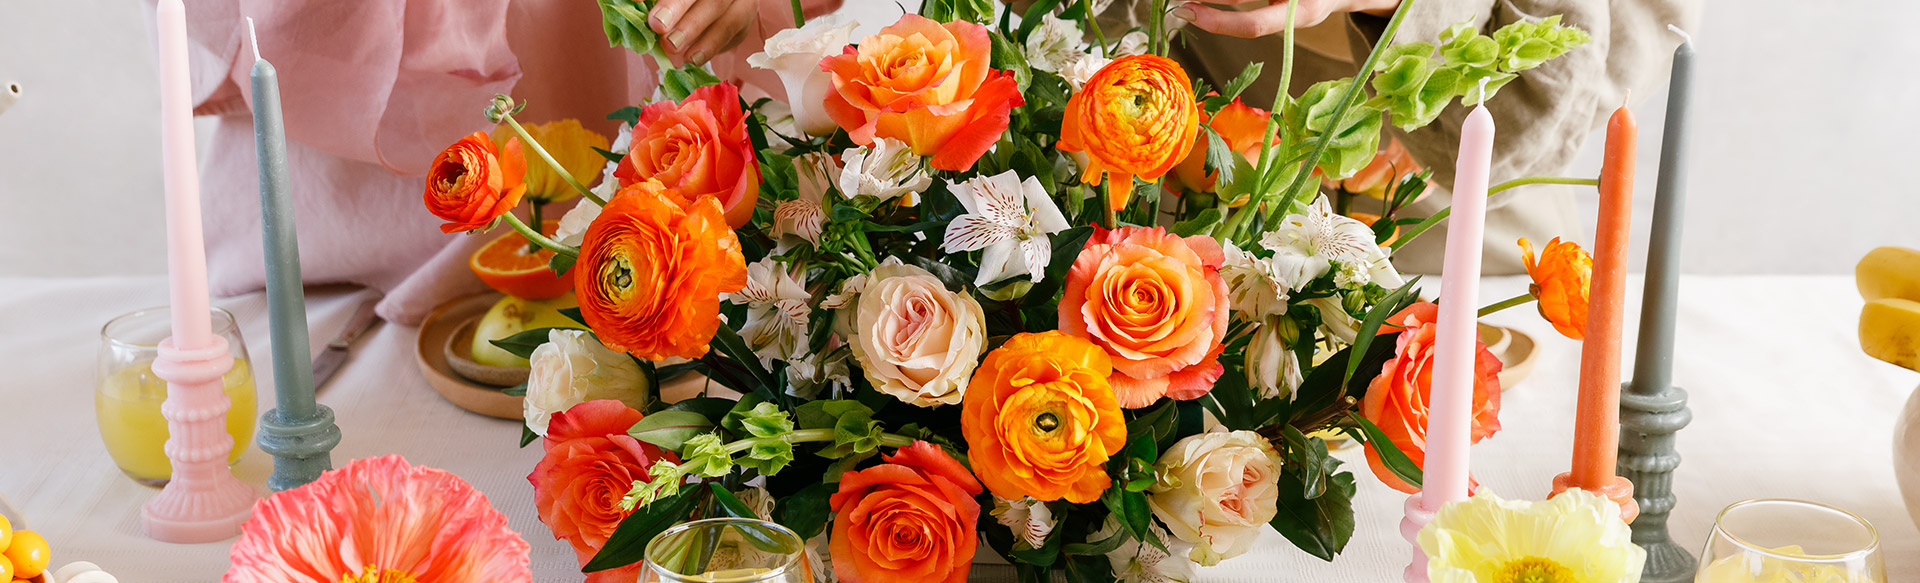
DIY Flower Boxes
What are you looking for?

1. PREPARE YOUR VASES
Make sure they’re clean at the bottom (scrub out any gunk please) and fill them with cold water. Add flower food to the water. These little packets give flowers sustenance and reduce bacteria in the water.
2. UNPACK YOUR BOX
Remove the flowers from their packaging and recycle the paper packaging!
3. HYDRATE
Your stems have had quite the journey and need a good drink. If they’re a little soft or sad, don’t fret! They’re just parched. Cut your stems by at least an inch (or more if you want them short) and put them in cold water to hydrate for at least an hour. Be sure to keep the bigger, longer stems in their own vase so they don’t crush the more delicate stems. Sort by color and type, it feels a little Type A but trust... It makes it easier later.
4. REMOVE LEAVES
After they’ve had a drink, you can start removing leaves that will go in the vase. This reduces the water getting dirty and adding bacteria to the water later on. In other words, your flowers will live longer.
5. ROSE PREP.
Roses come with guard petals or tough, greenish petals that surround the outer layer. These are intended to be peeled off. Think of them as a helmet for their journey. All the good, lush petals are behind them waiting to meet ya!
6. HAVE FUN! Follow our blog for some ideas on how to arrange your flowers.